
Introduction-Testing Controllers in Emulators (RPCS3, Dolphin, etc.) Made Easy
Gaming emulation has evolved from a technical curiosity to a thriving part of modern gaming. Whether you’re reliving PlayStation 3 classics with RPCS3, diving into GameCube nostalgia with Dolphin, or testing retro consoles via RetroArch, one small frustration unites them all—getting your controller to work perfectly.
Few things ruin a nostalgic session faster than unresponsive buttons, wrong mappings, or joystick drift. But don’t worry. This guide turns controller testing and configuration in emulators into an easy, reliable process.
Related Post: How to Use a Gamepad Tester with Cloud Gaming Platforms
Table of Contents
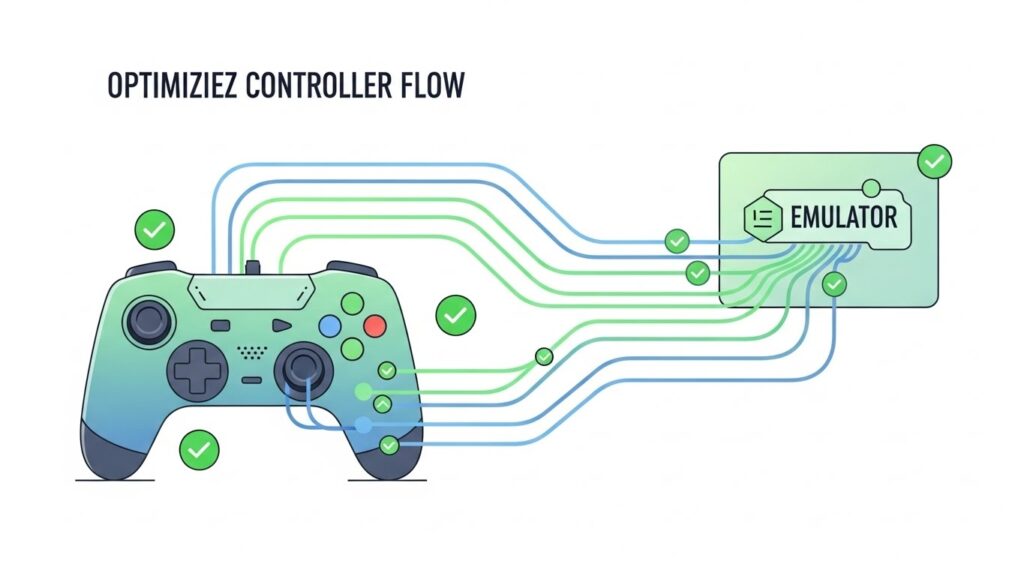
Why Testing Controllers in Emulators Matters
A controller isn’t just a plastic shell—it’s your bridge to the virtual world. For emulator gaming, controller mapping and input testing make or break the experience.
Proper testing ensures:
- Responsive Control: Each button and stick action registers instantly.
- Accurate Mapping: Emulator buttons correspond to console buttons correctly.
- No Input Lag or Drift: Particularly vital for fast-paced games or precision titles.
- Cross-Compatibility: Your controller behaves consistently across different emulators.
In other words, controller testing transforms a janky, frustrating playthrough into the butter-smooth session nostalgic dreams are made of.
Understanding Emulator Input Systems

Every emulator has its own “input engine,” which interprets your physical controller’s signals into virtual console commands.
Here’s how it works:
- Operating System Detection: Windows, macOS, or Linux detects your controller via USB or Bluetooth.
- Driver/Middleware Translation: The driver (e.g., XInput for Xbox, DirectInput for older devices) translates signals into a language the emulator understands.
- Emulator Mapping Layer: The emulator assigns those signals to specific console buttons—“Triangle,” “A,” “L3,” and so on.
Two Common Controller Input Standards
- XInput: Used mainly by Xbox and modern third-party controllers.
- DirectInput: Used by older or generic gamepads, plus many PlayStation models.
Most emulators today support both but sometimes require manual selection or configuration.
How to Test Controllers in Popular Emulators

Let’s get hands-on. Below are step-by-step guides for testing and configuring controllers in the most popular emulators.
RPCS3 (PlayStation 3 Emulator)
RPCS3 has a robust input configuration tab.
Steps:
- Launch RPCS3 and open Configuration → Pads.
- Choose your controller handler (e.g., XInput, DualShock 4, DualSense, or keyboard).
- Click “Configure” next to Player 1’s input device.
- Test each button by pressing it. The on-screen mapping field will flash when recognized.
- Adjust analog sensitivity or dead zones as needed.
- Hit Save and test in a PS3 title.
Pro Tip:
RPCS3 supports pressure-sensitive buttons for DualShock controllers if your driver supports it—try Gran Turismo 5 for a realism test.
Dolphin (GameCube & Wii Emulator)
Dolphin is one of the friendliest emulators for controller setup.
Steps:
- Open Dolphin → Controllers.
- Under GameCube Controllers, set Port 1 to “Standard Controller.”
- Click Configure next to it.
- Press the buttons one by one; you’ll see the interface light up as inputs register.
- Test analog sticks carefully using the joystick preview circle.
- Adjust dead zones and range sliders for smoother control.
For Wii Remotes:
Dolphin allows emulated Wii Remote testing by mapping motion controls to joystick axes or mouse movements. Handy when your real Wiimote takes an unscheduled vacation.
PCSX2 (PlayStation 2 Emulator)
PCSX2 uses LilyPad or OnePAD plugins for controller setup.
Steps:
- Open Config → Controller (PAD) → Plugin Settings.
- Under the Pad 1 tab, select each command and press the corresponding button.
- Use the Test Device panel to verify analog response.
- Save, then boot your favorite PS2 game.
Troubleshooting Tip:
If directional inputs double-register, switch between DirectInput and XInput in LilyPad options.
RetroArch (Multi-System Emulator)
RetroArch auto-detects most controllers, but testing them is still wise.
Steps:
- While in RetroArch, go to Settings → Input → Port 1 Controls.
- Use “Test Input” to view real-time button presses.
- Configure missing inputs manually.
- Save your configuration as a preset profile to apply it to multiple systems.
Expert Move:
RetroArch supports per-core and per-game button remaps. Perfect if your SNES games need different layouts than your PlayStation ones.
Citra (Nintendo 3DS Emulator)
Steps:
- Launch Citra → Emulation → Configure → Controls.
- Assign keys or controller buttons for each action.
- Check “Test” areas for joystick movements.
- Optionally, enable motion controls if supported by your controller gyros.
Bonus:
Citra supports up to 8 directional inputs for 3DS’s circle pad emulation—ideal for fine control in games like Ocarina of Time 3D.
Online Tools to Test Controller Inputs
Before diving into an emulator, it helps to verify your controller works correctly at the OS level. These online tools use the HTML5 Gamepad API to detect and visualize input signals directly in your web browser:
- Gamepad Tester – Real-time button and joystick display.
- HTML5 Gamepad Viewer – Great for drift testing and dead zone detection.
You’ll instantly see which buttons register and how your sticks behave—perfect for spotting dead zones and drift before emulator troubleshooting begins.
How to Calibrate Your Controller
Calibration fine-tunes joystick sensitivity and eliminates drift.
Windows:
- Go to Control Panel → Devices and Printers → Right-click your controller → Game Controller Settings → Properties.
- Under the Settings tab, click Calibrate.
- Follow the on-screen prompts for joysticks and triggers.
macOS:
Use the third-party Joystick Mapper or Controllers Lite app.
Linux:
Run jstest-gtk or similar utilities for adjusting axis ranges.
Pro Insight:
Even new controllers may benefit from a quick calibration—factory variance exists, and emulator latency accentuates it.
Common Controller Problems and Fixes
| Issue | Cause | Fix |
|---|---|---|
| Buttons unresponsive | Incorrect mapping | Reconfigure inside emulator settings |
| Lag or delay | Bluetooth interference or background processes | Use wired mode or close background apps |
| Drift (sticks move on their own) | Worn potentiometer or miscalibration | Recalibrate or adjust dead zone |
| Double input | Both XInput and DirectInput active | Disable one driver |
| Emulator not detecting controller | Driver issue or input backend mismatch | Update drivers or select correct input backend |
Best Practices for Smooth Play
- Update firmware and drivers. Modern updates often fix latency or mapping issues.
- Use wired connections for high-precision gaming (especially for fighting or rhythm games).
- Regularly back up your input configuration files. Every emulator stores them differently—saving them prevents rework after updates.
- Match controller layouts to original hardware. Example: map “A” and “B” opposite for NES-style layouts if muscle memory demands it.
- Test across titles. Some games handle analog input differently even within the same emulator core.
FAQs
Q1: Why doesn’t my emulator detect my controller?
Because the emulator might default to a different input backend (e.g., using DirectInput instead of XInput). Switching the input setting or updating your controller drivers usually resolves it.
Q2: Can I use a PlayStation controller on Dolphin?
Yes. Dolphin recognizes PlayStation controllers through generic XInput or DS4/DS5 emulation. Tools like DS4Windows make this seamless.
Q3: How do I fix controller lag on Bluetooth?
Minimize distance to the receiver, remove nearby wireless interference, and disable power-saving Bluetooth modes when gaming.
Q4: What’s joystick “dead zone,” and what does adjusting it do?
The dead zone defines how far you must move a joystick before input registers. Increasing it reduces drift; decreasing it enhances sensitivity.
Q5: Is there a universal emulator controller preset?
Not perfectly universal, but RetroArch’s auto-configuration profiles come close. Saving per-core mappings ensures consistent layouts across systems.
Conclusion & Key Takeaways
Testing controllers in emulators like RPCS3, Dolphin, and others doesn’t need to feel like digital surgery. With the right setup steps, quick calibration, and reliable testing tools, you can turn any gamepad—from Xbox to DualSense—into a smooth instrument of nostalgic joy.
Key Takeaways:
- Always test in both online tester tools and within the emulator.
- Use correct input backends (XInput vs DirectInput).
- Calibrate analog sticks to prevent drift.
- Save mapping profiles for easy reuse.
With these steps, your controllers—and your games—will feel like they were made for each other again.
External Source: RPCS3 Official Wiki – Input Configuration
Your retro gaming adventures are now officially controller-ready. Enjoy flawless gameplay—thumb cramps optional.