
Introduction
If your controller suddenly stops responding, characters start spinning in circles, or buttons feel possessed—don’t panic. A malfunctioning USB game controller doesn’t automatically mean a trip to the electronics graveyard (or worse, another $60 purchase).
Most controller issues can be diagnosed and fixed at home using built‑in Windows tools, online testers, and some careful inspection. Whether it’s an Xbox controller, a PlayStation DualShock, a PC USB joystick, or a third‑party wired pad, you can methodically narrow down the cause.
This guide shows you how to diagnose a faulty USB game controller step by step—from physical inspections and driver checks to calibration using Windows’ hidden tools—all explained simply, without overwhelming jargon.
Table of Contents
Why Diagnosing Matters Before Replacing
Before throwing away your old controller, remember that many “faulty” pads simply suffer from driver issues, loose USB connectors, or calibration mismatches.
Diagnosing first helps you:
- Save money and avoid unnecessary replacements.
- Learn whether the issue is with your PC, not the controller.
- Detect problems early—like cable wear or overheating chips.
- Extend the lifespan of your gaming accessories.
Diagnosing also makes you a bit of a gaming Sherlock Holmes, and who doesn’t want that title?
RELATED POST: How to Test Bluetooth Gamepads on Android and Windows (Ultimate Step-by-Step Guide 2026)
Common Symptoms of a Faulty USB Controller
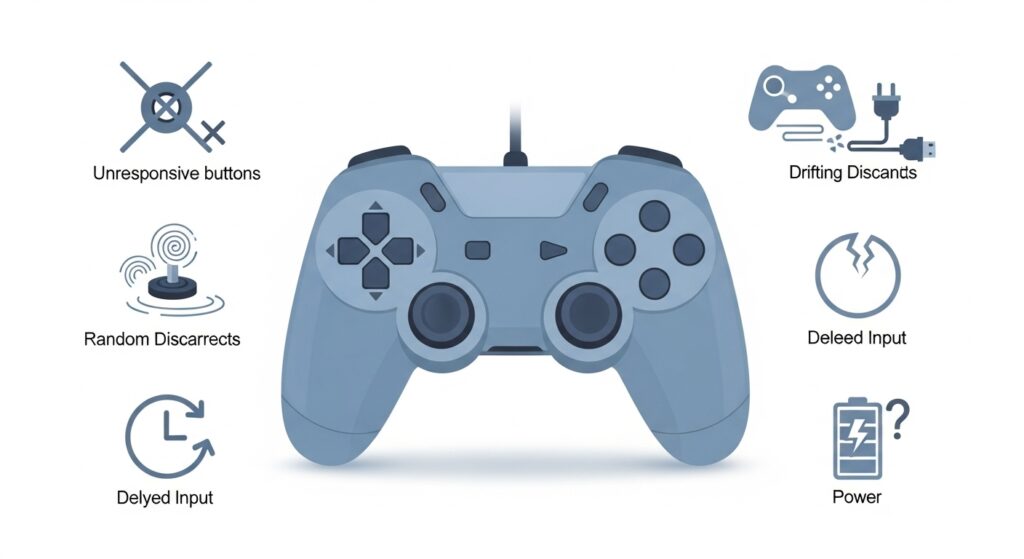
Here’s what malfunction often looks like:
- Unresponsive buttons or triggers.
- Analog sticks drift (cursor moves without touching them).
- Controller disconnects randomly during gameplay.
- LED lights flicker or fail to turn on.
- Constant rumbling or no vibration at all.
- Games not detecting input, even though Windows recognizes the device.
Each of these clues helps you isolate the source—hardware or software.
Initial Checks and Quick Fixes
Before diving into deep diagnostics, perform these five fast checks:
- Restart your PC. Obvious, yes, but it resets driver sessions.
- Try another USB port. Faulty or low‑power ports can mimic controller issues.
- Test with another game. Some titles handle input differently.
- Inspect the cable. Any fraying or bending? Replace the cable if detachable.
- Disconnect other controllers. Conflicting drivers sometimes confuse Windows.
If none of those instant fixes work—time for proper detective work.
Step-by-Step: How to Diagnose a Faulty USB Game Controller on Windows
Step 1: Inspect Physical Components
Start simple.
- Cables and connectors: Look for bent pins or loose connectors. If your controller uses micro‑ or USB‑C ends, test with another cable.
- Buttons: Press each one and check for sticky or inconsistent clicks. A sticky button can prevent proper contact.
- Joysticks: Move in full circles—check smoothness and return to center. Any stiffness may suggest dirt buildup.
- Printed Circuit Board (PCB): For tech‑savvy users, open the shell gently (after disconnecting power) and check for loose solder points or corrosion.
If it looks good physically, move to system testing.
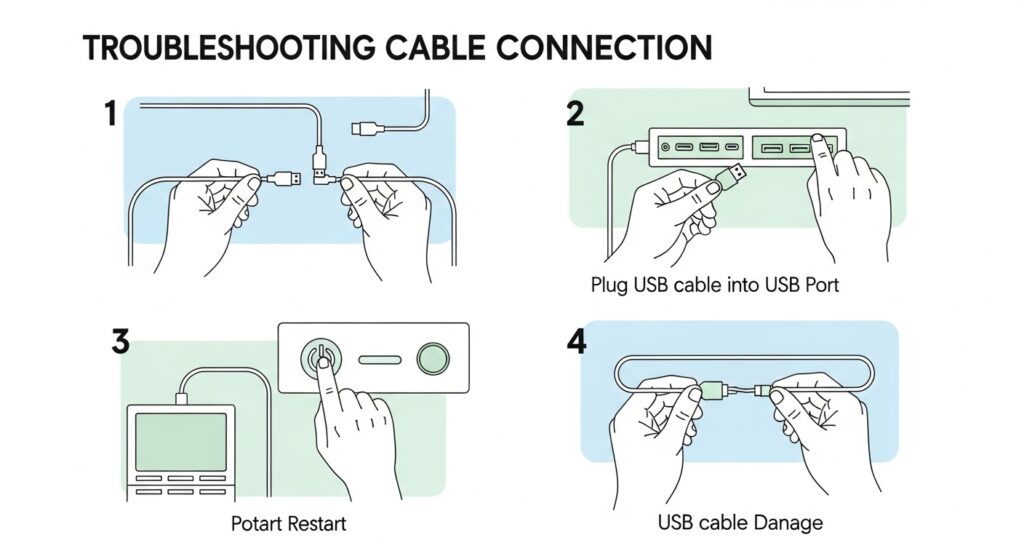
Step 2: Test the USB Port and Cable
Sometimes, the problem isn’t the controller—it’s the socket.
- Plug a different USB device (like a mouse or flash drive) into the same port.
- If that fails too, your port might be damaged or underpowered.
- Try connecting the controller to another computer to isolate the issue.
Windows often lists connection events in the Device Manager, even if it can’t read the input.
Step 3: Verify in Game Controllers Settings
Windows hides a surprisingly handy tool for testing controllers.
- Press Windows + R, type joy.cpl, and press Enter.
- Choose your controller from the list, then click Properties.
- The Test tab shows real‑time response for buttons, D‑pad, and axes.
Check for:
- Buttons that light inconsistently.
- Sticks that don’t return to center.
- Missing input—some older DirectInput controllers show fewer buttons than supported.
This built‑in diagnostic often reveals dead buttons or bad calibration in seconds.
Step 4: Calibrate the Joysticks
If analog sticks show ghost inputs or misalignment, calibration might fix it.
- Return to the joy.cpl dialog.
- Select Settings → Calibrate.
- Follow the on‑screen wizard—rotate sticks, press triggers, complete neutral positions.
The process resets center detection and can eliminate mild drift without hardware repair.
For precision testing, note whether the axis values move smoothly. Sudden jumps may indicate worn potentiometers.
Step 5: Test Using Online Gamepad Tester Tools
Prefer a visual meter over cryptic numbers? Use an online tester powered by the HTML5 Gamepad API such as GamePad Scan’s Tester
These show:
- Detected device name and protocol (XInput or DirectInput).
- Real‑time registered button presses.
- Axis movement charts.
If inputs fail here too, you can confirm it’s a hardware or driver problem rather than a specific app.
Step 6: Update or Roll Back Drivers
Driver mismatch is one of the biggest culprits in USB controller errors.
To fix:
- Open Device Manager → Human Interface Devices (HID).
- Find your controller name (it may appear as “USB Input Device”).
- Right‑click → Update driver → Search automatically.
- If issues began after an update, choose Roll back driver.
Windows updates occasionally install generic HID drivers that ignore advanced features like vibration or triggers. Using official ones (e.g., Xbox Accessories, DualSense drivers) restores full functionality.
Step 7: Check for Firmware or Compatibility Issues
Some modern controllers (especially Xbox and DualSense) have their own firmware.
- Connect with the official configuration app (like Xbox Accessories App or DS4Windows).
- Check for firmware updates. Firmware fixes often resolve bugs such as “random disconnects” or faulty rumble.
Also, if you’re using a legacy USB controller, confirm whether it uses DirectInput—you might need a translator like x360ce or DS4Windows to ensure compatibility with newer XInput‑centric games.
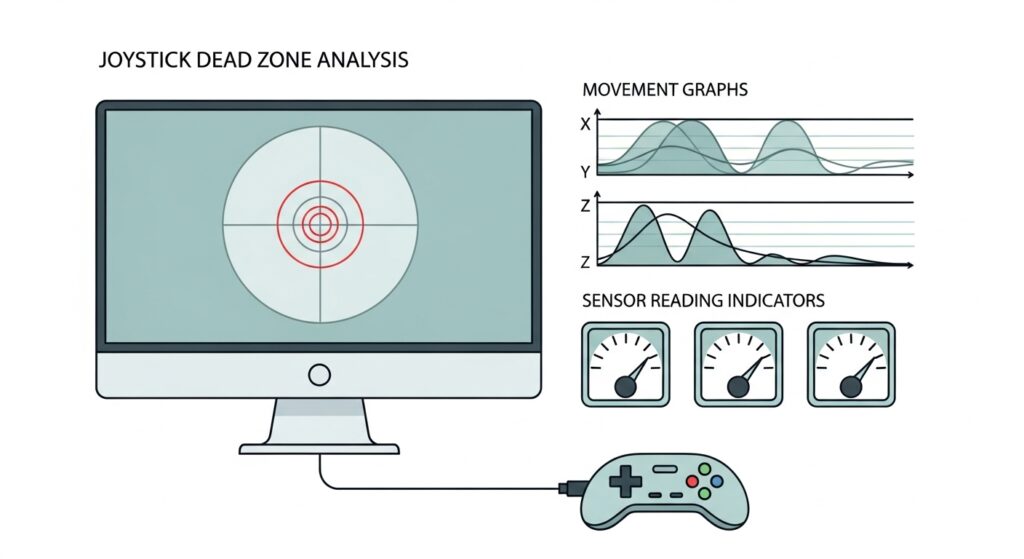
Advanced Diagnostics: Dead Zones & Sensor Check
If calibration didn’t help but inputs still behave inconsistently, measure the dead zones (the small no‑response range around the neutral stick position).
Using an advanced tester app such as Controller Companion, AntiMicroX, or HTML5 Tester, watch how early or late your stick starts responding.
- If there’s a large dead zone (e.g., 20–30% of motion unregistered), the analog sensor is likely degraded.
- If the stick value shakes while idle, there might be electrical noise or worn potentiometers.
You can temporarily offset this by adding a small dead zone in your game’s control settings.
When Hardware Failure Is Likely
After software and calibration steps, hardware issue signs include:
- No power or LED even when plugged in.
- Spikes or dropped signals during tests.
- Cracked solder joints under USB connector.
- Rattling noises inside housing (broken posts or springs).
- Persistent drift even after recalibration.
At this stage, repair might involve soldering new joystick modules or replacing the USB connector—tasks best left to professionals unless you have proper electronics tools.
However, many manufacturers offer affordable refurb programs or cable replacement kits, extending a controller’s life for a fraction of new cost.
Top Tools for Testing and Troubleshooting USB Game Controllers
Here are some reliable offline and online tools to assist your diagnosis:
| Platform | Tool | Primary Use |
| Windows | joy.cpl Utility | Quick built‑in test and calibration |
| Web (All OS) | gamepad-tester.com | HTML5 API test, supports Xbox/PS controllers |
| Windows/Mac | DS4Windows | Calibrate and customize PlayStation controllers |
| Windows | Steam Big Picture → Controller Settings | Detects most USB gamepads for testing & remapping |
| Cross‑platform | AntiMicroX / JoyToKey | Diagnostic + button mapping |
These tools cover almost all brands, from Logitech and PowerA to 8BitDo and Hori.
FAQs
Q1: How do I know if my USB controller is dead or just unrecognized?
If it doesn’t even appear in Device Manager or light up via USB, it’s likely a hardware failure. If it’s visible but non‑responsive, it’s probably driver‑related.
Q2: Can I repair a broken USB cable myself?
Yes, if you’re comfortable soldering. Just match each wire color (red, white, green, black), and ensure a snug fit. Otherwise, use a replacement cable.
Q3: What’s the difference between DirectInput and XInput when diagnosing?
XInput (used by Xbox controllers) is the modern standard; many older devices use DirectInput, which requires remapping tools for modern games. Knowing the type helps you test with compatible software.
Q4: Why does my controller vibrate nonstop or not at all?
Corrupted drivers or firmware glitches can trigger incorrect vibration signals. Reconnect, update drivers, and re‑test in joy.cpl or your device software.
Q5: Are third‑party controllers harder to diagnose?
They can be, especially cheaper brands lacking driver support. Always check maker’s firmware tools or use universal testers built around HID standards.
(For SEO structure, schema markup could use { “@type”: “FAQPage”, … } in your site’s JSON-LD.)
Conclusion & Key Takeaways
Diagnosing a faulty USB game controller is often about patience, not luck. Methodically checking connections, testing through Windows’ joy.cpl, calibrating joysticks, and verifying drivers can rescue a seemingly “dead” controller in minutes.
Quick Recap:
- Always start with physical inspection and port testing.
- Use built‑in tools like joy.cpl and HTML5 Gamepad Tester.
- Calibrate before replacing hardware—drift and lag often stem from software.
- Keep drivers and firmware current for stable input performance.
- If everything fails, check for internal damage or seek professional repair.
Externally, reliable sources include :
Microsoft’s Official Controller Support Page
Sony’s DualSense Firmware Information.
After all, there’s no better satisfaction than restoring a once‑glitchy controller to full, clicky, joystick‑perfect life—proof that a little troubleshooting goes a long way in gaming and beyond.